With the Galaxy Note 10 and Note 10+, you can shoot and edit professional images in the palm of your hand. The Galaxy Note 10 comes equipped with a four-lens pro-grade camera system and an advanced editing suite that makes it easy for you to create and share engaging photos directly from your smartphone.
Also Read: 10 things you didn’t know you could do with the Samsung’s S Pen
Using the Camera
Editing photography on your smartphone is much easier when you start with great photos, and taking great photos is easier when you know how to use your camera. The Galaxy Note 10 comes loaded with multiple camera modes, intelligent features, and guides to help you create the best images possible.
As helpful as it is to have all of these features at your fingertips, it can also feel a bit overwhelming to figure out when and how to use them, but it doesn’t have to. While the system is powerful, it’s also intuitive and easy to navigate — whether you’re an expert photographer or a beginner.
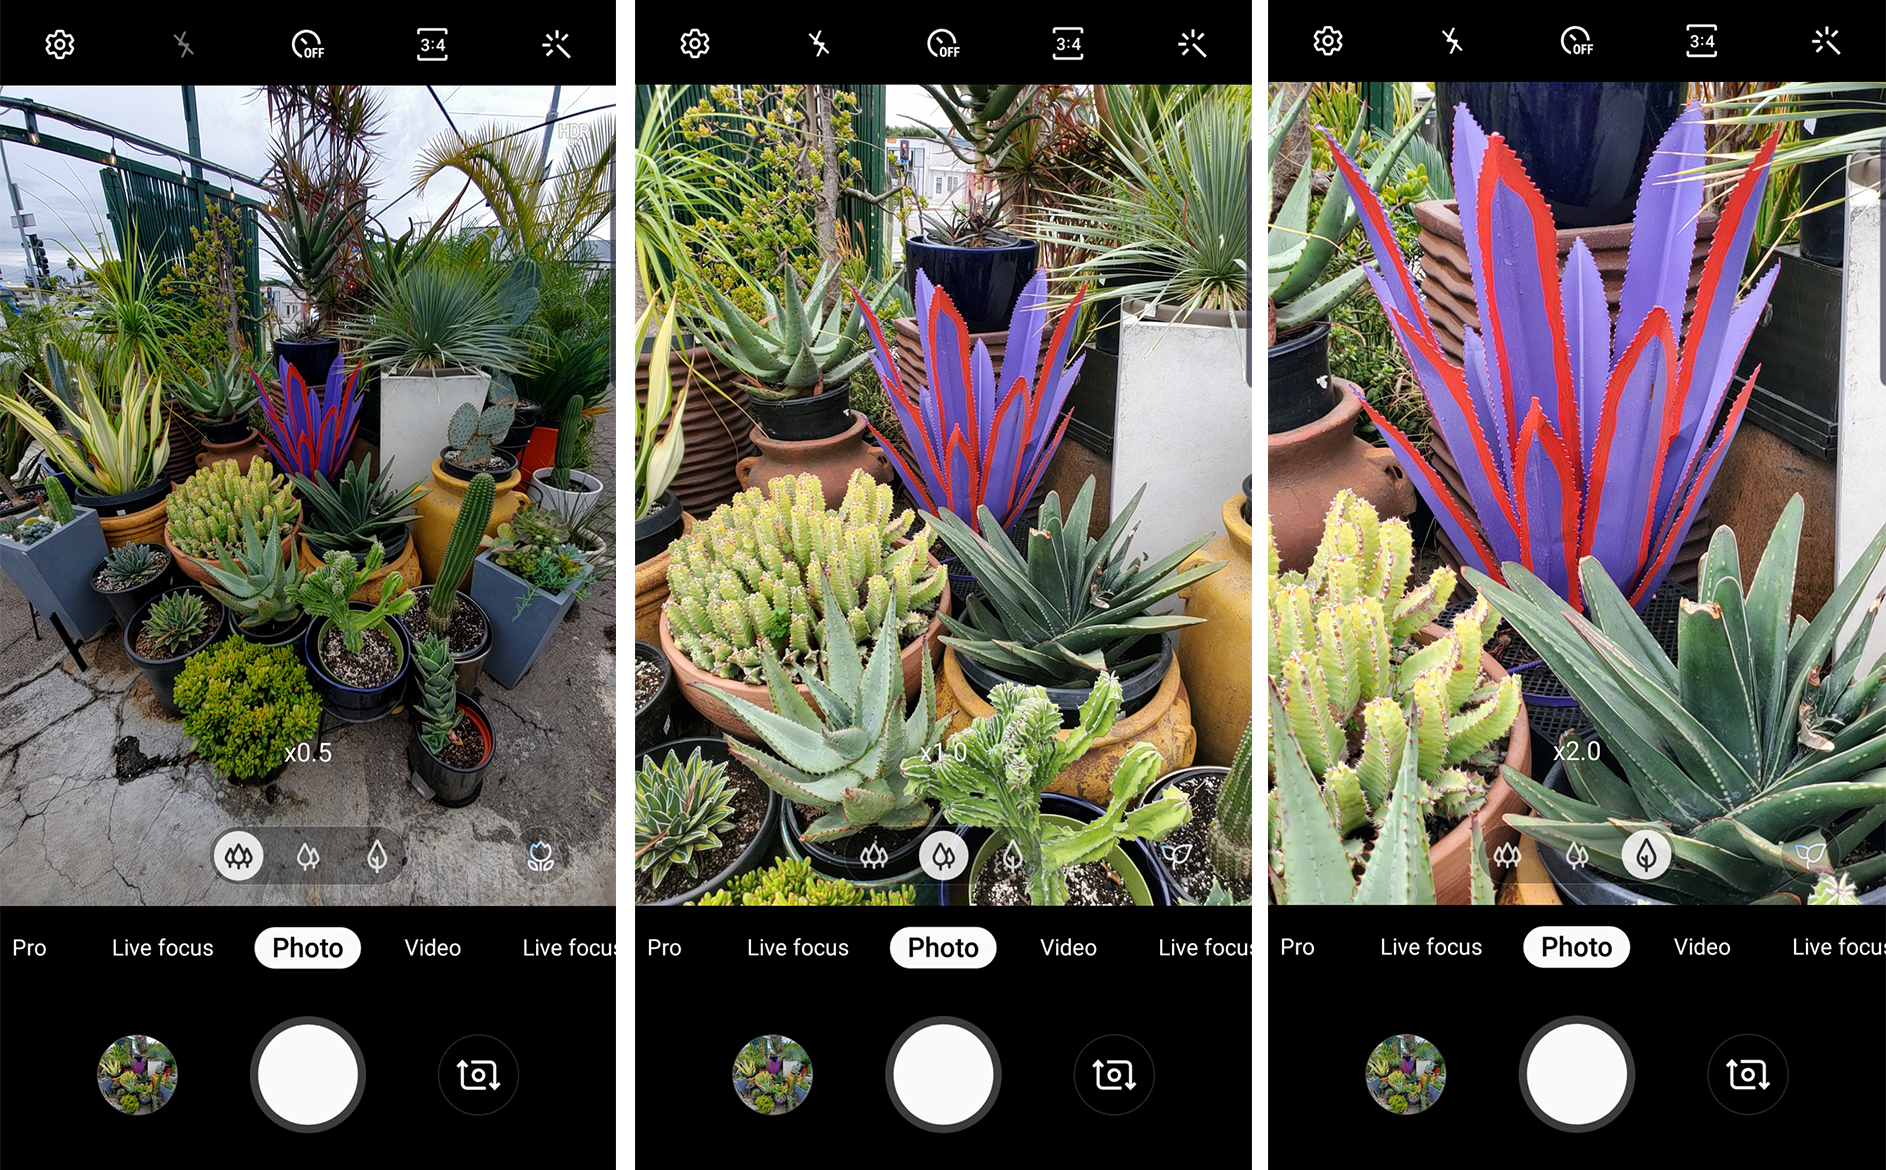
The Note 10 camera system includes three lenses on the back on the phone: ultra-wide, wide-angle and telephoto. On your camera screen, these are depicted by the forest, tree and leaf icons. Toggle back and forth to choose the one you like best for the scene. You can also use the selfie camera in one of two focal lengths: framed in tight on your face, or zoomed out to show the scene behind you.

Customize Your Settings
Sure, you can open the camera app and start using it right away, but it’s always a good idea to check your settings first.
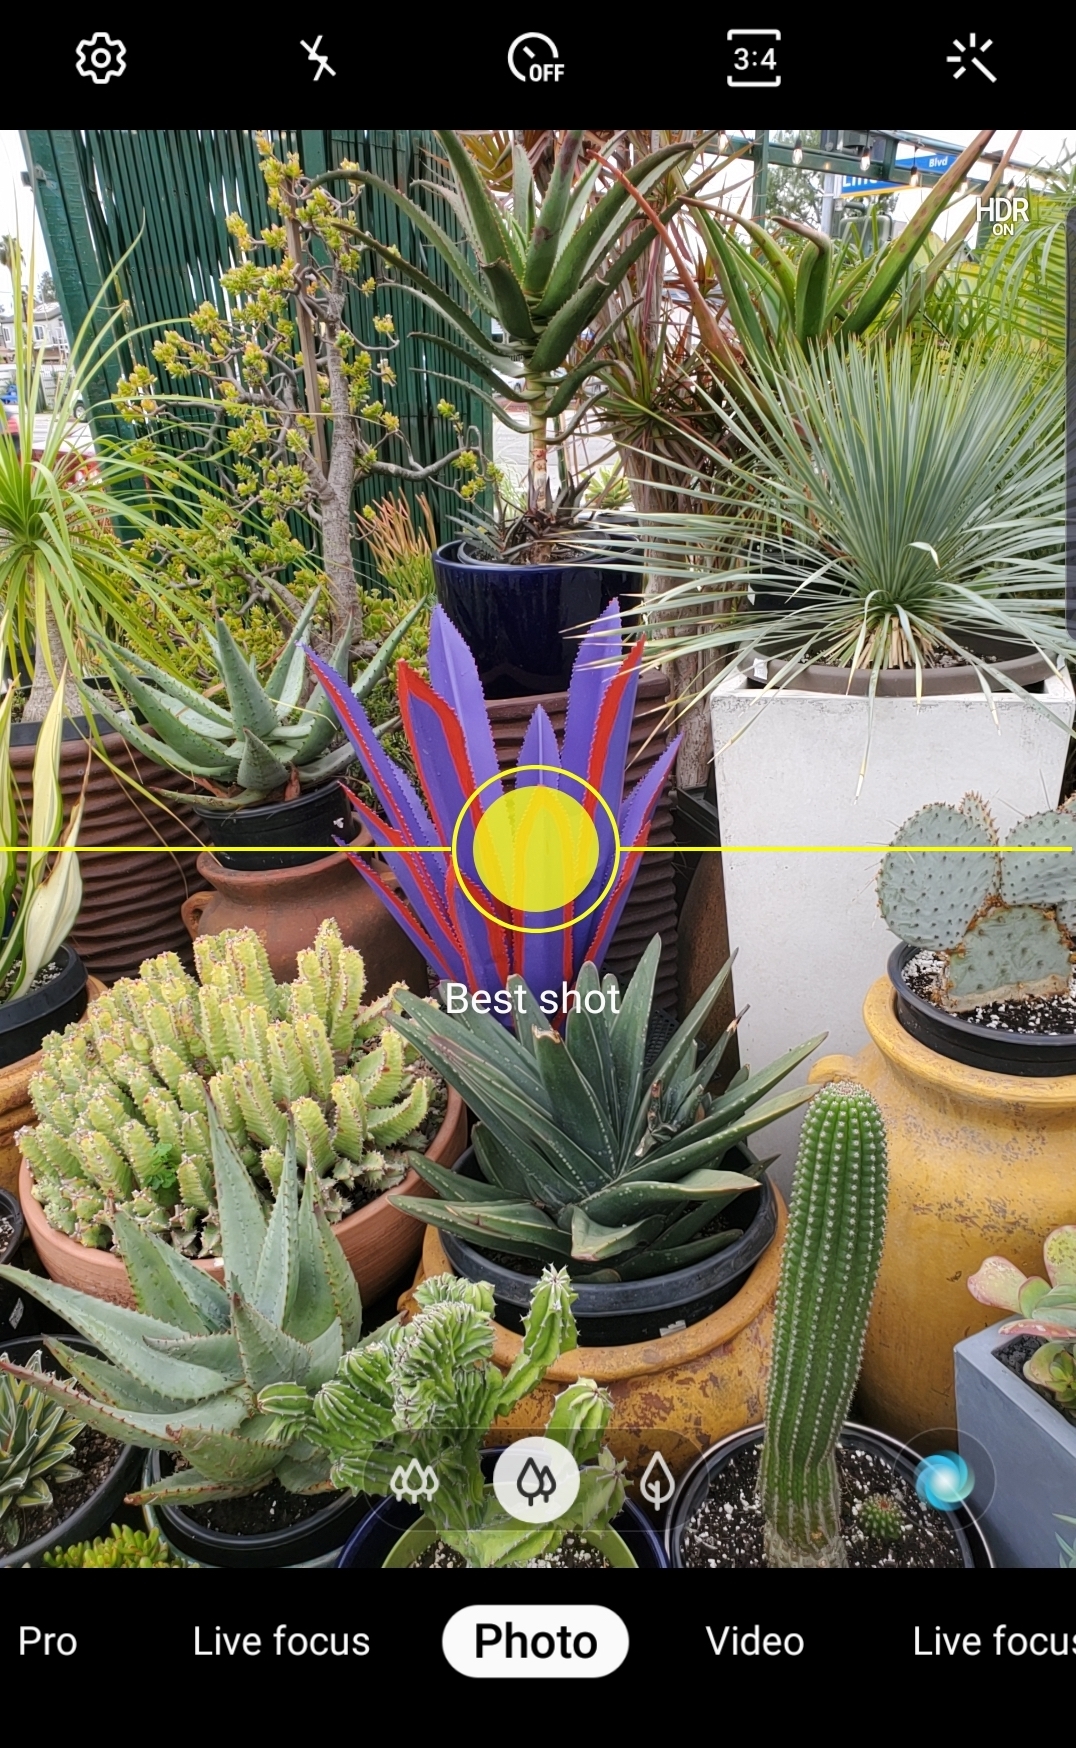
Before you take your first picture, open the camera and tap the gear icon in the upper left corner. Here you’ll find a list of options to choose from that can help you take the best photos possible. Intuitive features like the scene optimizer will automatically adjust camera settings to best fit the scene. Guide features like shot suggestions and grid can help you compose a well-balanced image.

Other settings to note are the flash, timer, ratio and filters/beauty. The beauty option can be flattering for selfies, but it’s best practice to use that and the filters sparingly. Plus, if you really want to use a filter, they’re easy to add later while you edit.
Camera Modes
The Galaxy Note 10 comes preloaded with a variety of camera modes to choose from. Live focus adjusts the depth of field to give your photos a soft, blurred background, or “bokeh,” and keep the focus on your subject in the foreground. Pro mode will give you manual control over the aperture, shutter speed, ISO and white balance, similar to a DSLR camera.
Another benefit of shooting in pro mode is you can save both JPEG and RAW files. Make sure to select RAW copies under save options in your settings if you want to save both file types.
Editing Basics
Once you’ve taken your photos, it’s time to add the finishing touches that will make them look professional and polished.
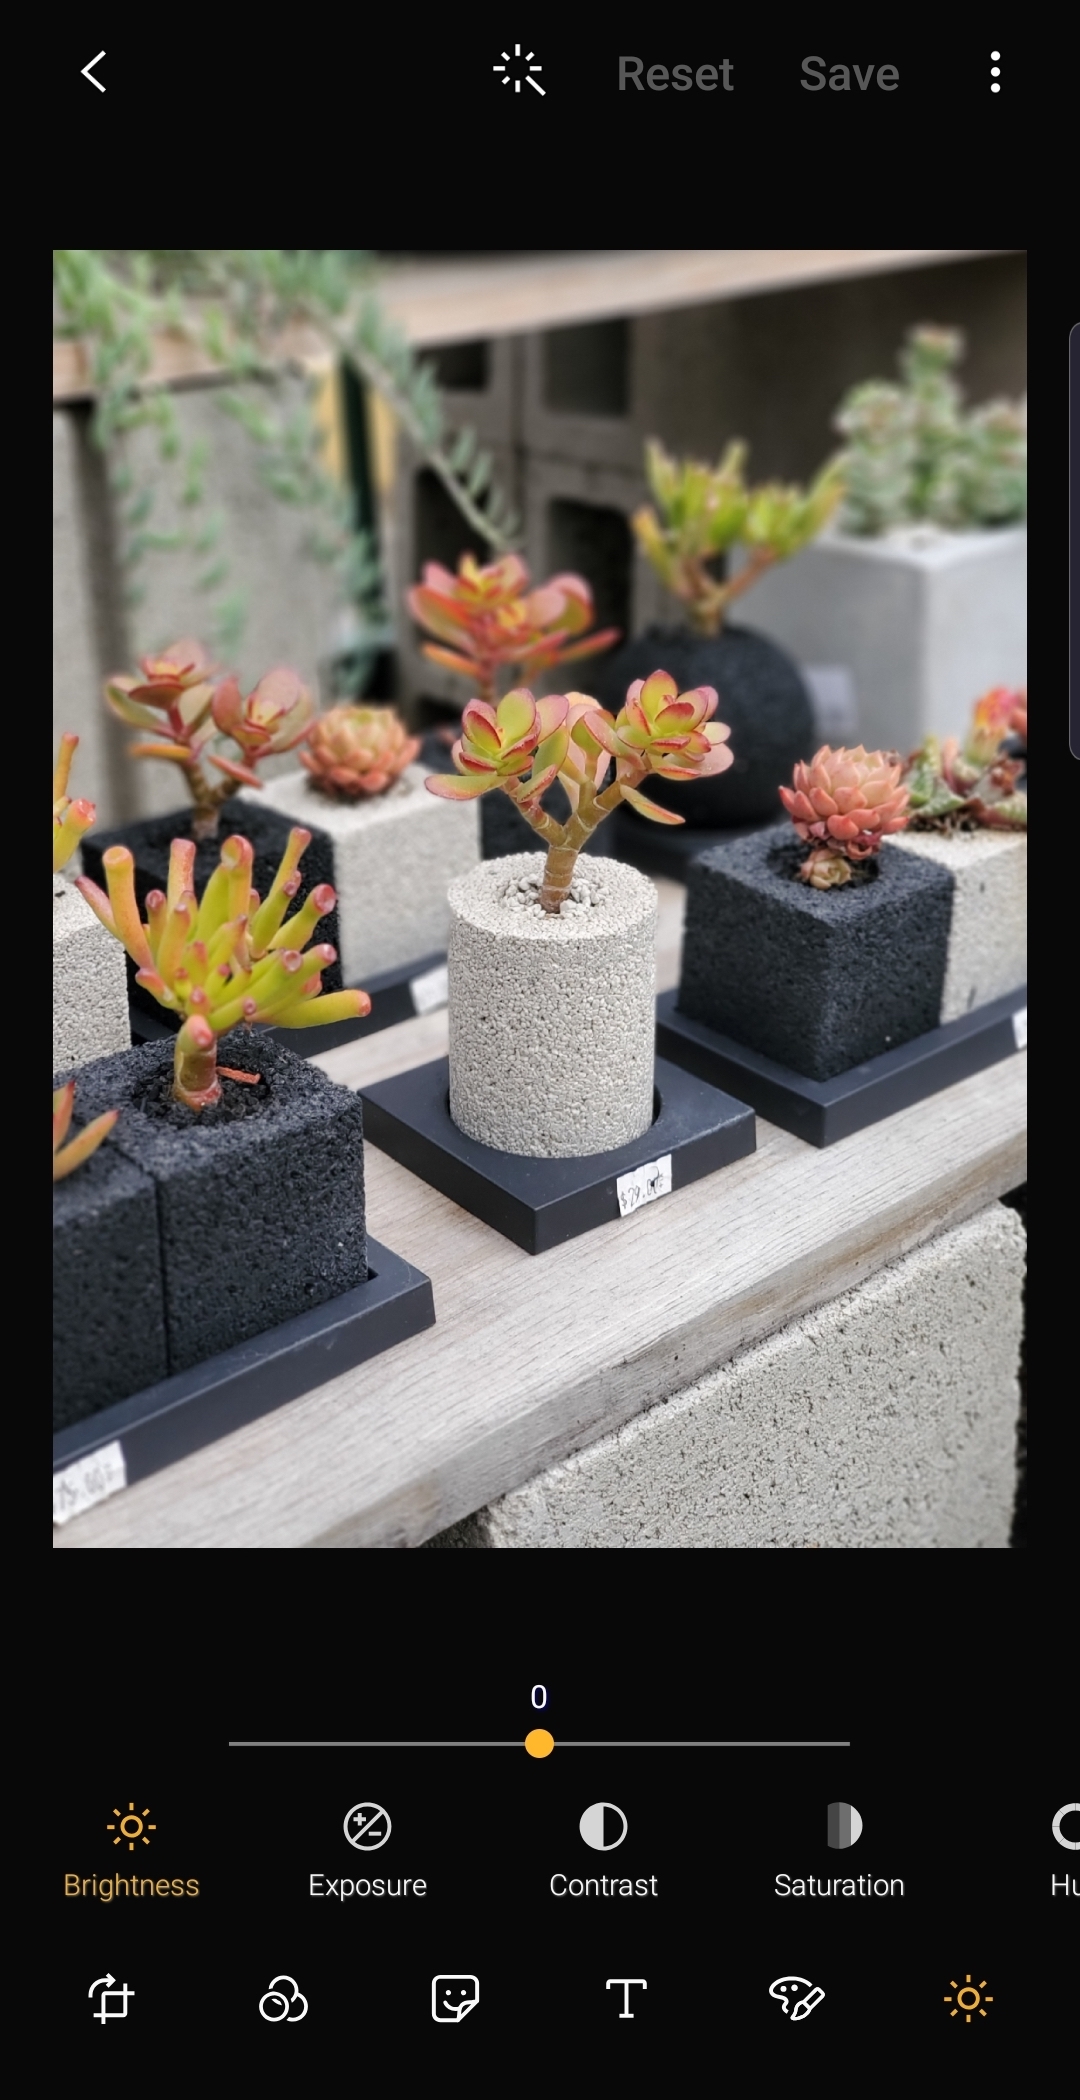
To access the photo editor, open your gallery and tap on the photo you want to edit. Once open, tap the pencil icon in the lower-left corner to open the editing panel where you can crop, rotate, make tone adjustments, add text, apply a filter or draw on your images with the S Pen. If your image was taken in live focus mode, you will also see an option to change your background effect.
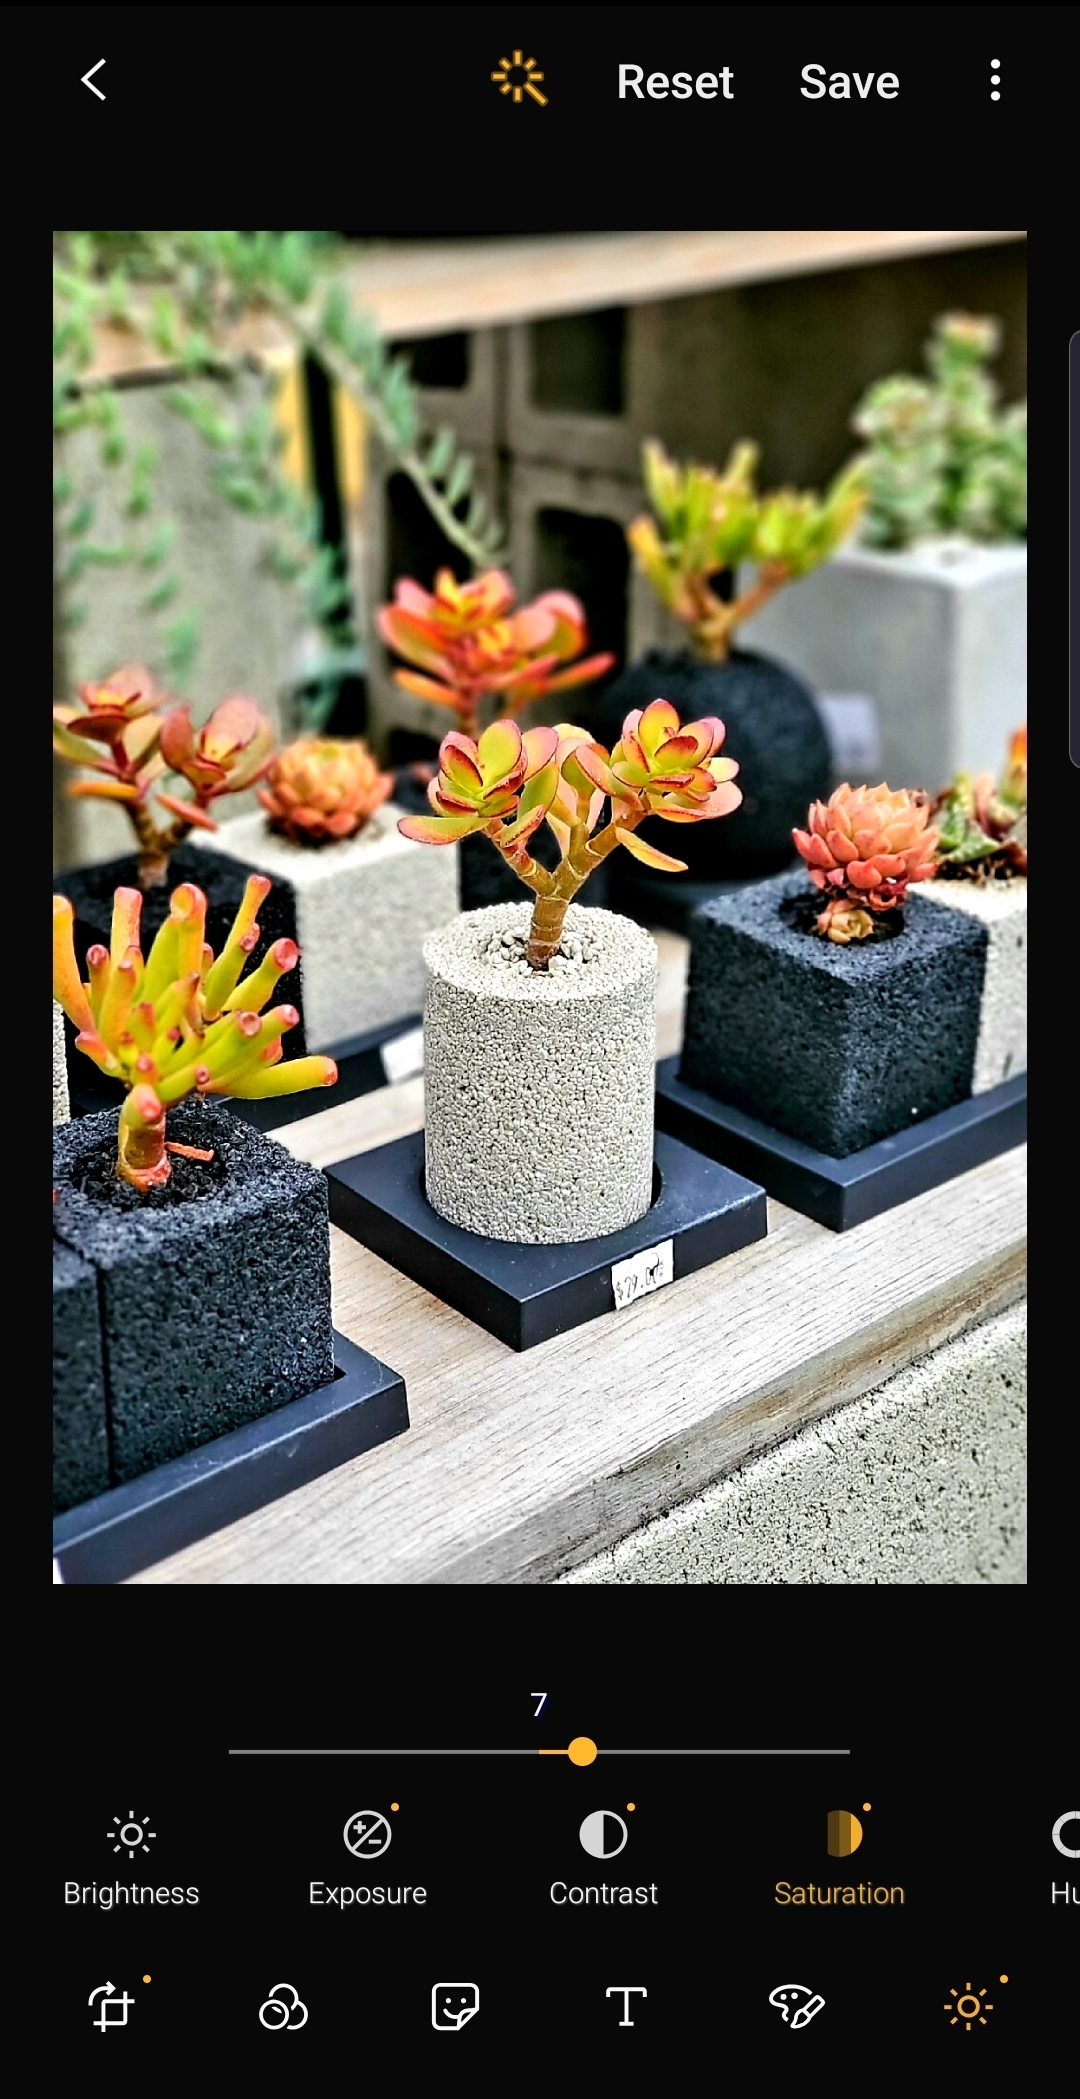
The quickest and easiest editing option is auto adjust — the magic wand icon at the top of the screen. Auto adjust will analyze the photo and enhance it with tone corrections like contrast, saturation and brightness. Sometimes this is enough, but you should rely on your own eyes to tell you if it looks right or not. You can always go back to the editing panel to make adjustments. The best way to ensure a clean and photorealistic edit is to do it yourself.
To compare the edited photo with the original, hold your thumb down on the screen for about one second to see the “before” photo and then release it to see it with current edits.


Filters, Styles and Advanced Options
If you want to take your editing a step further, tap the three dots at the top right of the screen for artistic and advanced editing options. With spot color, you can isolate certain colors of the image while leaving the rest in grayscale; style gives you the option to convert the image into a drawing or painting; the advanced feature allows you to fine tune the image with tone curve and hue, saturation and lightness (HSL) color controls. (This will look familiar to you if you have experience with professional photo editing software.)
Both spot color and style can be fun to get creative and experiment with. You might even discover you can repurpose a photo as artwork for a sign or social media graphic.

A little goes a long way when it comes to editing — think of it as a way to enhance the image rather than fix it or change it completely. The first thing someone should see when they look at your photo is what’s in it, not how it was edited.
This is especially true if you’re using the image to market your business, as potential customers will want to see what your product or establishment really looks like. Try to make moderate adjustments and use filters sparingly to let the beauty of your photo shine through.
Once you’re done editing your photo, all that’s left to do is save it, share it and watch your business grow. When creating content is this seamless, you might even be inspired to create more of it.


