Search results for: “z flip”

  • Apple’s latest updates and deals you should know about

    Apple’s latest updates and deals you should know about

    Big things are happening in the Apple world! Recently, Best Buy kicked off the first discount on the new M3 iPad Air. This tablet comes with a powerful chip, a sleek design, and now a lower price, making it a great time to grab one if you’ve been thinking about upgrading your tech.

    Meanwhile, Apple has decided to stop selling the older M2 and M3 MacBook Air models. They’re clearing the way for newer stuff, so if you loved those laptops, they won’t be around much longer. On the flip side, Apple just launched a fresh MacBook Air with the M4 chip and a cool sky-blue color. It’s fast, stylish, and perfect for anyone wanting a modern laptop.

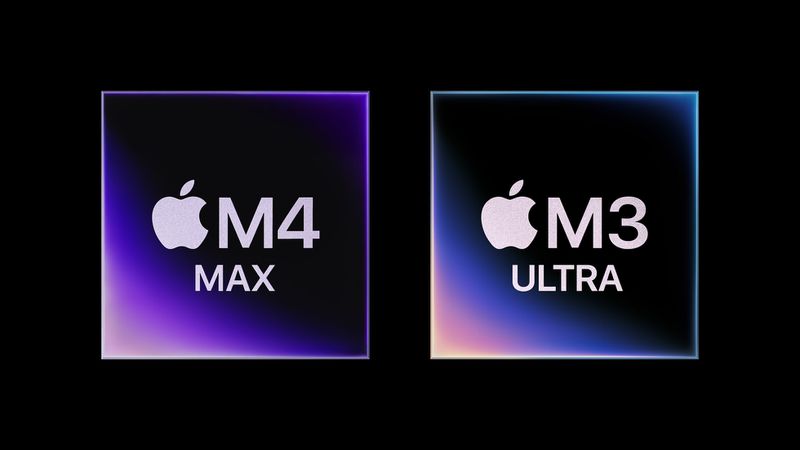
    That’s not all—Apple also unveiled the M3 Ultra chip, a super-strong processor for heavy tasks like video editing or gaming. This new chip is powering the updated Mac Studio, which also offers an M4 Max option. These machines are built for people who need top performance, whether for work or creative projects.

    In other news, Qualcomm, a big tech company, bragged that its X85 modem beats Apple’s tech in speed and power. This could mean tougher competition for Apple’s devices down the road, especially for things like Internet speed on phones and tablets.

    From discounts to brand-new gadgets, Apple is keeping things exciting. Whether you’re after a deal on the M3 iPad Air or eyeing the shiny new MacBook Air in sky blue, there’s something for everyone. Plus, with the M3 Ultra and Mac Studio upgrades, power users have plenty to cheer about. Stay tuned—Apple’s not slowing down anytime soon!

  • iOS 18 brings a handy Calendar upgrade

    iOS 18 brings a handy Calendar upgrade

    Apple’s Calendar app stayed pretty much the same for years, but lately, it’s been getting better fast. With iOS 18, there’s one new feature I’ve wanted for a long time, and it’s turned out to be a game-changer: Reminders now work right inside the Calendar app.

    A Clear Daily Plan with Reminders Built In

    Before this update, the Calendar and Reminders apps on the iPhone didn’t talk to each other—they were totally separate. But now, iOS 18 mixes the basic features of Reminders into Calendar. For me, this is a big win because I can finally see my whole day in one spot. With this new setup, all my scheduled reminders show up next to my calendar events. I rely on reminders a lot to keep track of home chores and work tasks.

    In the past, figuring out my day meant flipping between two apps—Calendar and Reminders. Just checking Calendar wasn’t enough since I’d miss key tasks I’d set up. Now, though, everything’s together. My reminders line up in order with my events, so one quick look at the Calendar app tells me exactly what’s ahead.

    One Small Catch, But Still a Great Change

    There’s just one downside: you can’t pick and choose which Reminders lists show up in Calendar. It’s either all your scheduled reminders or none at all.

    Even with that little hiccup, blending Reminders into Calendar has been awesome. It’s made my daily planning so much smoother and easier. This upgrade might sound simple, but it’s honestly made a huge difference for me.

  • Your Safari searches now pop Up in iOS 18.4

    Your Safari searches now pop Up in iOS 18.4

    With the iOS 18.4 update, Apple added a little change to Safari that might catch your eye. Now, when you open a new tab and tap the search bar, your recent searches show up right away. It’s a simple shift, but it could spark some mixed feelings.

    In the earlier version, iOS 18.3.1, things worked differently. Opening a new tab and tapping search kept your history hidden, leaving you on the usual Safari start page. You wouldn’t see past searches unless you started typing something similar, and even then, it only popped up as a suggestion.

    According to 9to5Mac, this new setup in iOS 18.4 could feel a bit awkward. Imagine handing your iPhone or iPad to a friend or family member to use Safari or another app—your recent searches would be right there for them to see. Not everyone might love that kind of openness.

    On the flip side, if you’re someone who never shares your device, this could be handy. Seeing your latest searches with one tap might save time, especially if you look up the same things often. Plus, Apple still has Private Browsing mode, which keeps your searches off the record entirely.

    Right now, iOS 18.4 doesn’t let you turn off this search history display. That said, Apple might tweak it before the update goes live for everyone, since it’s still in beta. If you want to wipe the slate clean, there’s always the “Clear All” button to erase your search history whenever you like. This small update shows how even tiny changes can make a difference—whether you find it helpful or a little too revealing depends on how you use your device!

  • New iPhone 17 Pro Max might have a smaller notch, says insider

    New iPhone 17 Pro Max might have a smaller notch, says insider

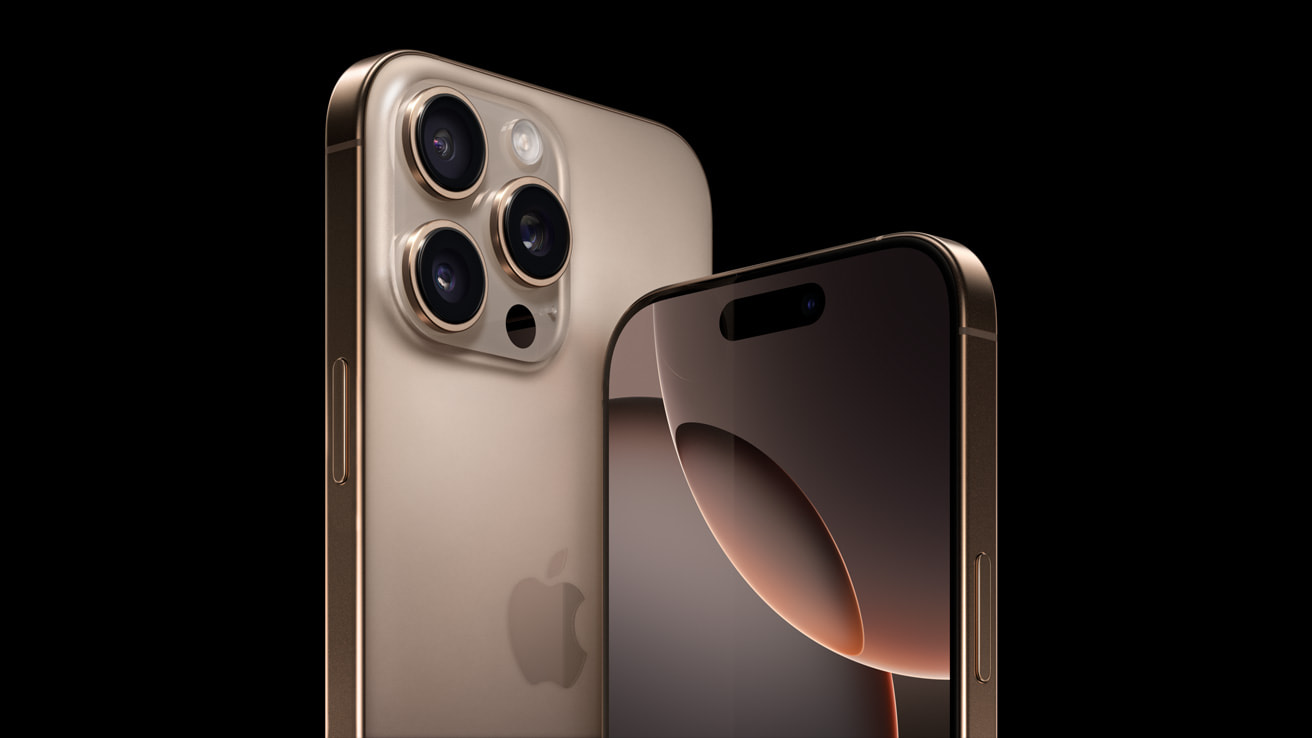
    The latest buzz around Apple’s next big phone, the iPhone 17 Pro Max, suggests it will come with a smaller notch. This comes from a tipster on Weibo known as Digital Chat Station.

    Smaller Notch with New Tech

    The insider has shared that the iPhone 17 Pro Max will use something called a “metalens” for its Face ID. This new tech combines the parts that send and receive light into one, making the whole setup thinner and smaller. This means the Dynamic Island, which is the name for the notch on newer iPhones, could be less noticeable. The same technology might also show up in the next iPad Pro and a rumored foldable iPad.

    How Metalens Differs

    Unlike the usual camera lenses in iPhones that use curved glass to focus light, a metalens is super thin and flat. It uses tiny structures to direct light to the camera’s sensor, which could make devices even slimmer.

    Mixed Messages from Experts

    However, this news conflicts with what was said earlier by Apple analyst Ming-Chi Kuo in January, who predicted no change in Dynamic Island’s size for the iPhone 17 lineup. On the flip side, analyst Jeff Pu had predicted last year that the iPhone 17 Pro Max would feature these metalens leading to a slimmer Dynamic Island. Pu has been right about Apple’s moves before, so his predictions carry some weight.

    Credibility Check

    Digital Chat Station has a history of getting things right. They correctly predicted details about the iPhone 15’s camera and the iPhone 12’s screen design, which adds some trust to their latest claim.

    Apple rolled out the Dynamic Island with the iPhone 14 Pro models back in 2022, and it has stayed the same size since then. We’re all waiting to see what Apple has in store when they reveal the iPhone 17 series, expected in September next year.

    Source

  • Samsung Galaxy S25 Ultra outspeeds iPhone 16 Pro Max in app loading

    Samsung Galaxy S25 Ultra outspeeds iPhone 16 Pro Max in app loading

    In a recent speed test by PhoneBuff, the Samsung Galaxy S25 Ultra has shown it’s faster than the iPhone 16 Pro Max when opening apps. This test looked at how quickly each phone could handle tasks across different programs, from social media to games.

    The Galaxy S25 Ultra, powered by the Snapdragon 8 Elite chip and equipped with 12GB of RAM, took the lead right from the start. It was quicker in opening work apps and even faster in processing photos in Snapseed, an editing app. When it came to video editing with LumaFusion, the Samsung phone was 25% faster than the iPhone, which is surprising since Apple phones usually do well in this area.

    Even in games, where iPhones have often led, the S25 Ultra kept ahead. It did better or just as well as the iPhone in games like Subway Surfers and Flip Diving. The iPhone only slightly won in some games, but overall, Samsung was ahead.

    The first round of app openings took the Galaxy S25 Ultra just 2 minutes and 18 seconds, beating the iPhone by 15 seconds. In the second round, which checks how well the phones keep apps running in the background, the iPhone narrowed the gap a bit, but Samsung still won by a clear margin, which PhoneBuff described as one of the biggest victories in recent speed tests.

    Samsung’s advantage seems to come from its powerful chip, more RAM, and a larger cooling system. This setup, along with Android 15 and One UI 7, gives the Galaxy a performance boost. Although Apple has had time to fine-tune iOS 18 for its hardware, Samsung has seemingly taken the lead in speed.

    Looking ahead, Apple might catch up with the iPhone 17 series expected in September. The new models could feature an A19 Pro chip made with an advanced manufacturing process, potentially offering better speed and efficiency. Also, all iPhone 17 models are rumored to have better cooling to manage heat during heavy use.

    This speed test shows that while both phones are top performers, Samsung currently holds the lead in how quickly apps can be loaded and processed.

  • Rumors about Apple’s new Folding Phone

    Rumors about Apple’s new Folding Phone

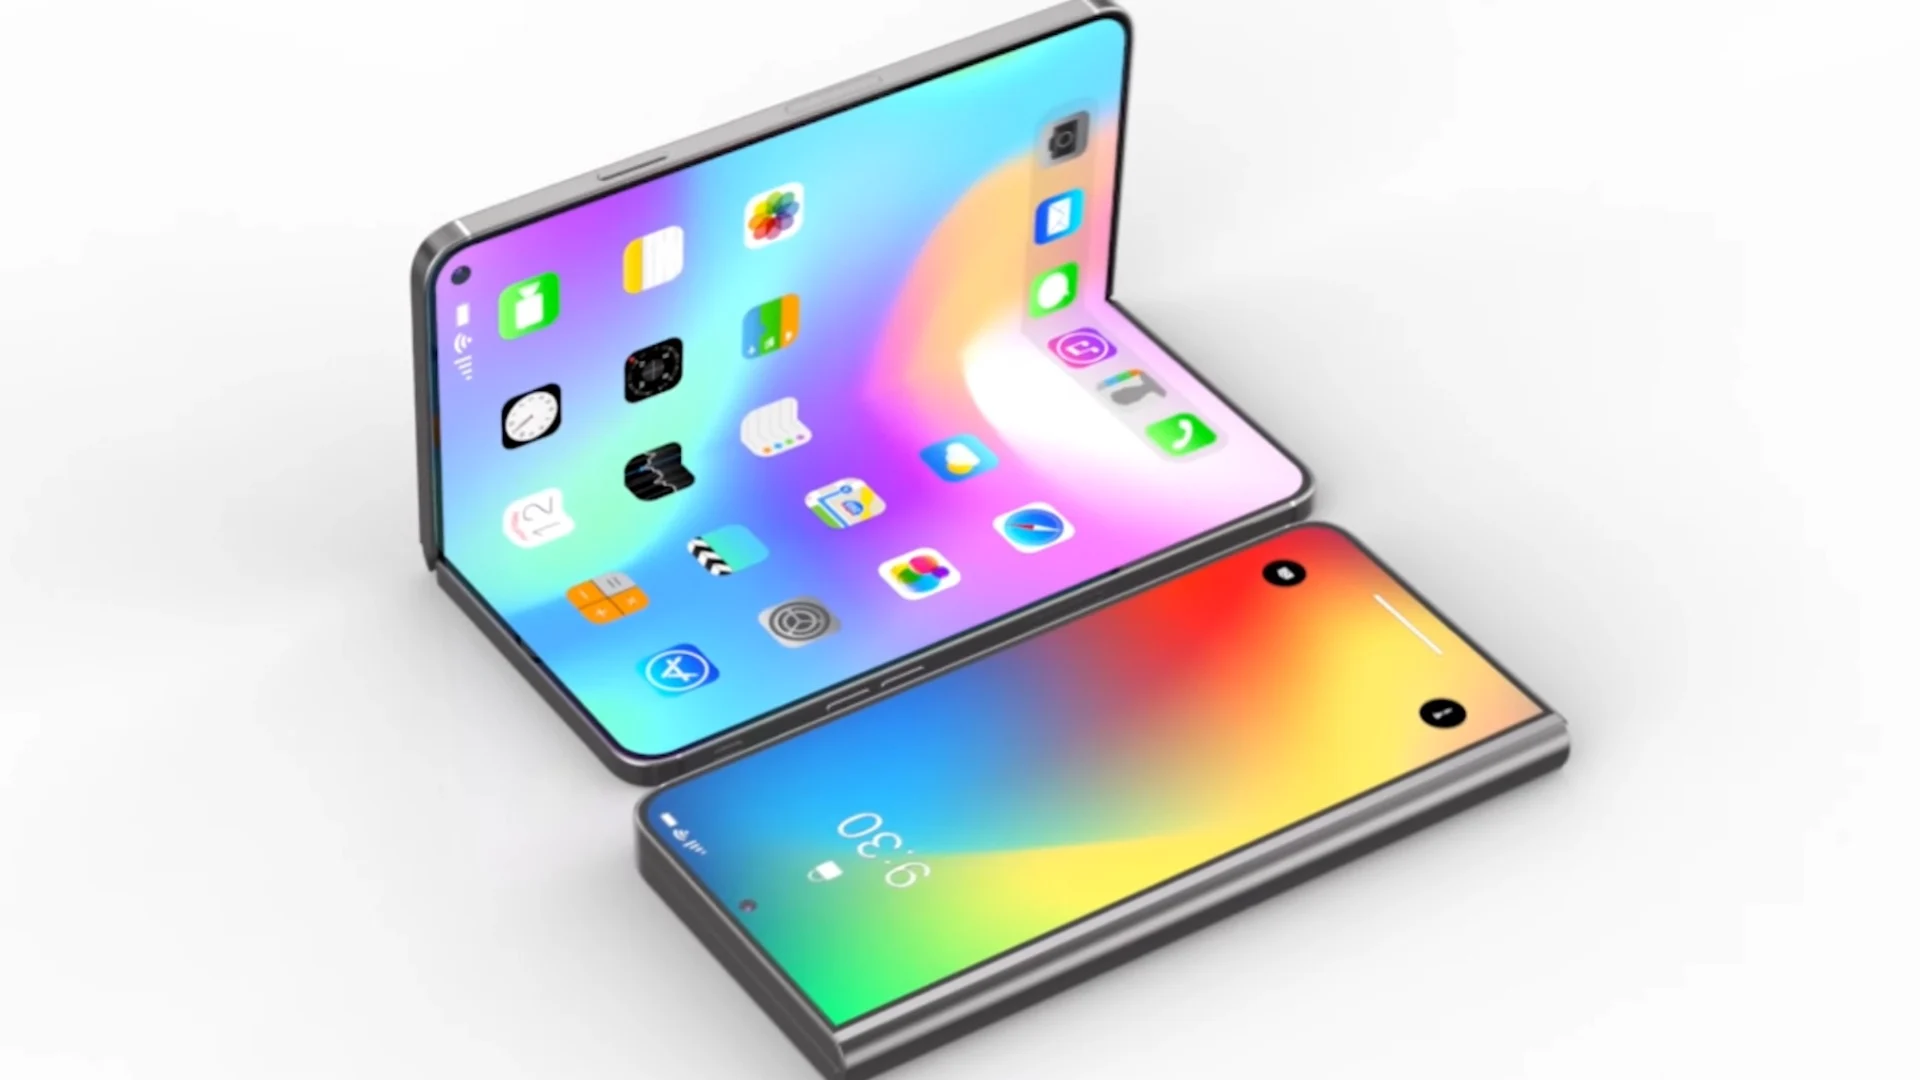
    Apple might be planning to make a phone that folds in half, but the details we’ve heard so far are a bit shaky. There has been talk about a folding iPhone for many years, and now, a new rumor gives us some supposed specifics, although we’re not sure how reliable it is.

    • How It Folds: The rumor suggests that this phone would fold like a book with the hinge on the left side. However, earlier this year, there was talk about Apple working on a phone that folds up and down, more like a flip phone.
    • Size: The screen inside, when opened up, is said to be as big as having two regular iPhone screens next to each other, making it over 12 inches. But if you put two 6.1-inch iPhones side by side, you’d get about 7.5 inches, not 12. This sounds more like the size of a folded iPad Pro. There’s also chatter about a big folding device like an iPad or MacBook coming out in 2027, but that’s a different story.
    • Thickness: When open, the phone is supposed to be very thin at 4.6mm, but when closed, it would be 9.2mm. This seems a bit too thin, especially since even Samsung’s current folding phones are thicker when open.
    • Screen Supplier: It’s said Apple will get its screens from Samsung, but other rumors say Apple hasn’t decided on a screen maker yet and might choose one in a couple of months.
    • Camera: The phone might have a very slim front camera using something called Meta Lens tech, which was supposed to be for a different iPhone model but might not happen. On the back, there would be two cameras: a main one and an ultra-wide one.
    • Battery: The phone would come with two batteries encased in stainless steel, adding up to 5,000mAh.
    • When It Might Come Out: This folding iPhone is rumored to hit the market in the fall of 2026, which matches up with several other predictions from well-known analysts and journalists.

    Remember, these are just rumors, and not all might turn out to be true or might change as Apple keeps working on new ideas.

    Source

  • Apple nears decision on Foldable screen supplier

    Apple nears decision on Foldable screen supplier

    Apple is almost ready to pick a company to make the screens for their new foldable devices, according to a blog post by “yeux1122” on Naver. This person says they got the info from someone inside Apple’s supply chain.

    Apple is being very picky about who can make these screens. They want them to be just as thin and curved as the best ones out there but also much tougher and with no creases. Some local companies are doing well at meeting these tough standards.

    They expect to choose a supplier sometime between the end of February and the start of April, but no final choice has been made yet.

    This screen could be for a foldable iPhone. Analyst Ming-Chi Kuo has said that Apple is still planning this foldable iPhone, with guesses that it might come out sometime between late 2025 and 2027. There’s talk that Apple might even launch a flip-style iPhone in 2026.

    Besides iPhones, Apple is also looking into bigger foldable gadgets. The Wall Street Journal mentioned that Apple is working on a 19-inch foldable device meant to be like a laptop. And Mark Gurman from Bloomberg talked about a huge foldable iPad possibly coming out in 2028, which would look like one smooth piece of glass with no crease in sight.

    Source

  • Decoding macOS Security: A deep dive into XProtect and malware defense

    Decoding macOS Security: A deep dive into XProtect and malware defense

    The digital landscape is constantly evolving, and with it, the threats that target our devices. For Mac users, the built-in security suite, XProtect, stands as a crucial first line of defense. But how effective is it? What exactly does it protect against? This article delves into the inner workings of XProtect, exploring its components, detection methods, and the specific malware it targets, offering a comprehensive look at macOS security in 2025. 

    My journey into the world of macOS security has been a fascinating one. From attending security conferences in unexpected locations, like my trip to Kyiv for Objective-See’s Objective by the Sea v2.0, to engaging with leading security experts, I’ve gained invaluable insights into the ever-present battle against malware. This exploration culminates in a detailed examination of XProtect, a topic I began investigating last year and have continued to refine as Apple updates its defenses.

    XProtect: More Than Just a Malware Blocker

    Introduced in macOS X 10.6 Snow Leopard back in 2009, XProtect initially served as a simple malware detector, alerting users to potentially harmful files during installation. However, it has evolved significantly over the years. The 2022 retirement of the Malware Removal Tool (MRT) marked a turning point, paving the way for XProtectRemediator (XPR), a more sophisticated anti-malware component responsible for both detecting and removing threats. 

    XProtect’s strength lies in its use of Yara rules, an open-source tool that identifies malware based on specific patterns within its code or metadata. This allows Apple, and indeed anyone, to create custom detection rules.  

    Today, the XProtect suite comprises three key components:

    • XProtect App: This component uses Yara rules to scan applications upon launch, modification, or signature updates, detecting known malware.

      XProtectRemediator (XPR): XPR takes a more proactive approach, regularly scanning the system for threats using Yara rules and other methods. These scans occur in the background during periods of low activity, minimizing performance impact.

      XProtectBehaviorService (XBS): Introduced more recently, XBS monitors system behavior, looking for suspicious activity related to critical resources.

    The Challenge of Obfuscated Signatures

    One of the challenges in understanding XProtect’s capabilities is Apple’s use of internal naming schemes for its Yara rules. While this obfuscation serves a security purpose, it makes it difficult to pinpoint the exact malware being targeted. For instance, while some rules have relatively clear names like XProtect_MACOS_PIRRIT_GEN (targeting Pirrit adware), many are given generic names like XProtect_MACOS_2fc5997 or internal codenames like XProtect_snowdrift.

    This is where the work of security researchers like Phil Stokes of Sentinel One Labs and independent researcher Alden becomes crucial. Stokes maintains a public repository on GitHub that maps Apple’s obfuscated signatures to common malware names recognized by security vendors and public scanners like VirusTotal. Alden has made significant strides in understanding XPR’s functionality by extracting Yara rules directly from its scanning modules. 

    Locating XProtect on Your Mac

    XProtect is enabled by default on all macOS installations and operates silently in the background. Updates are also automatic. To locate XProtect on your system: 

    1. Open Finder and navigate to Macintosh HD > Library > Apple > System > Library > CoreServices.
    2. Locate “XProtect” and right-click (or Control-click).
    3. Select “Show Package Contents.”
    4. Navigate to Contents > MacOS.

    Important Note: While XProtect provides a solid baseline of protection, it primarily focuses on known threats. Relying solely on XProtect is not advisable. Employing reputable third-party anti-malware solutions is strongly recommended for enhanced security.

    XProtectRemediator v147: A Look at the Malware Arsenal

    XPR’s scanning modules are responsible for malware removal. Examining version 147 reveals a targeted approach against a variety of threats. Here’s a breakdown of some of the identified remediators:

    • Adload: This adware and bundleware loader has been targeting macOS users since 2017, demonstrating a persistent threat. Recent XProtect updates have significantly improved the detection of this malware.
    • BlueTop: Identified as a Trojan-Proxy campaign documented by Kaspersky in late 2023.
    • ColdSnap: Likely targeting the macOS version of the SimpleTea malware, a Remote Access Trojan (RAT) with ties to the 3CX breach and similarities to Linux and Windows variants.
    • Crapyrator: Identified as macOS.Bkdr.Activator, a large-scale malware campaign discovered in February 2024, potentially aimed at creating a macOS botnet or distributing further malware.

      DubRobber (XCSSET): A versatile and concerning Trojan dropper.

    • Genieo: A widely known potentially unwanted program (PUP).

      KeySteal: A macOS information stealer first observed in 2021 and added to XProtect in February 2023.

    • Pirrit: An adware family known for injecting ads, collecting browsing data, and manipulating search results.
    • RankStank: Linked to the 3CX supply chain attack attributed to the Lazarus Group.
    • SnowDrift: Identified as the CloudMensis macOS spyware.
    • Trovi: A cross-platform browser hijacker similar to Pirrit, known for redirecting searches, tracking browsing history, and injecting ads.

    Several other remediators, such as BadGacha, CardboardCutout, FloppyFlipper, GreenAcre, RoachFlight, SheepSwap, ShowBeagle, ToyDrop, and WaterNet, remain unidentified at this time, highlighting the ongoing effort to decipher XProtect’s full capabilities.

    The Ongoing Evolution of macOS Security

    The fight against malware is a constant arms race. Apple continuously updates XProtect to address emerging threats, and security researchers work tirelessly to uncover the intricacies of its defenses. By understanding the components and capabilities of XProtect, Mac users can gain a deeper appreciation for the built-in security measures and make informed decisions about their overall security posture. While XProtect provides a valuable layer of protection, combining it with reputable third-party security software remains the most effective approach to safeguarding your Mac in today’s complex digital world.
  • Unleash Your Inner Photographer: Mastering iPhone camera techniques

    Unleash Your Inner Photographer: Mastering iPhone camera techniques

    The iPhone has revolutionized how we capture the world around us. Beyond its sleek design and powerful processing, the iPhone’s camera system offers a wealth of features that can transform everyday snapshots into stunning photographs.

    While features like Portrait Mode and Photographic Styles are undoubtedly impressive, mastering the fundamentals of composition and utilizing often-overlooked settings can elevate your iPhone photography to new heights. Whether you’re a seasoned photographer or just starting your visual journey, these six tips will unlock the full potential of your iPhone camera.  

    1. The Art of Composition: Harnessing the Rule of Thirds

    Composition is the backbone of compelling photography. The rule of thirds, a time-honored principle, provides a framework for creating balanced and visually engaging images. This technique involves dividing your frame into nine equal rectangles using two horizontal and two vertical lines. The key is to position your subject or points of interest along these lines or at their intersections. 

    To enable the grid overlay in your iPhone’s camera app, follow these simple steps:

    1. Open the Settings app.
    2. Scroll down and tap Camera.
    3. In the “Composition” section, toggle on the Grid switch.

    With the grid activated, consider these points:

    • Identify Key Elements: Determine the primary subjects or focal points within your scene.
    • Strategic Placement: Position these elements along the grid lines or at their intersections. For portraits, placing the subject’s eyes along a horizontal line often creates a more compelling image.
    • Landscapes and Horizons: Align the horizon with one of the horizontal lines. A lower horizon emphasizes the sky, while a higher horizon focuses on the foreground.  
    • Balance and Harmony: Use the rule of thirds to create visual balance. If a strong element is on one side of the frame, consider placing a smaller element on the opposite side to create equilibrium.
    • Embrace Experimentation: The rule of thirds is a guideline, not a rigid rule. Don’t be afraid to experiment and break the rules to discover unique perspectives.

    2. Achieving Perfect Alignment: The Power of the Level Tool

    Capturing straight, balanced shots is crucial, especially for top-down perspectives or scenes with strong horizontal or vertical lines. The iPhone’s built-in Level tool is a game-changer for achieving perfect alignment.

    In iOS 17 and later, the Level tool has its own dedicated setting:

    1. Open the Settings app.
    2. Tap Camera.
    3. Toggle on the Level switch.

    For top-down shots:

    1. Open the Camera app and select your desired shooting mode (Photo, Portrait, Square, or Time-Lapse).
    2. Position your iPhone directly above your subject.
    3. A floating crosshair will appear. Align it with the fixed crosshair in the center of the screen. When perfectly aligned, both crosshairs will turn yellow.
    4. Tap the shutter button to capture the perfectly aligned shot.

    3. Straightening the Horizon: Horizontal Leveling for Every Shot

    The Level tool also provides invaluable assistance for traditional horizontal shots. When enabled, a broken horizontal line appears on the screen if your iPhone detects that you’re slightly off-level. As you adjust your angle, the line will become solid and turn yellow when you achieve perfect horizontal alignment. This feature is subtle, appearing only when you’re close to a horizontal orientation, preventing unnecessary distractions.

    4. Capturing Fleeting Moments: Unleashing Burst Mode

    Sometimes, the perfect shot is a fleeting moment. Burst Mode allows you to capture a rapid sequence of photos, increasing your chances of capturing the ideal image, especially for action shots or unpredictable events.  

    To activate Burst Mode:

    1. Go to Settings -> Camera and toggle on Use Volume Up for Burst.
    2. In the Camera app, press and hold the Volume Up button. Your iPhone will continuously capture photos until you release the button. A counter on the shutter button indicates the number of shots taken.

    Burst photos are automatically grouped in the Photos app under the “Bursts” album, making it easy to review and select the best images.  

    5. Mirror, Mirror: Controlling Selfie Orientation

    By default, the iPhone’s front-facing camera flips selfies, creating a mirrored image compared to what you see in the preview. While some prefer this, others find it disorienting. Fortunately, you can easily control this behavior:  

    1. Open the Settings app.
    2. Scroll down and tap Camera.
    3. Toggle the Mirror Front Camera switch to the ON position.

    With this setting enabled, your selfies will be captured exactly as they appear in the preview, matching the mirrored image you’re accustomed to seeing.

    6. Expanding Your View: Seeing Outside the Frame

    For iPhone 11 and later models, the “View Outside the Frame” feature provides a unique perspective. When enabled, this setting utilizes the next widest lens to show you what’s just outside the current frame. This can be incredibly helpful for fine-tuning your composition and avoiding the need for extensive cropping later.

    To activate this feature:

    1. Open the Settings app.
    2. Scroll down and tap Camera.
    3. In the “Composition” section, toggle on View Outside the Frame.

    This feature is most effective when using the wide or telephoto lenses, revealing the ultra-wide perspective or the standard wide view, respectively. The camera interface becomes semi-transparent, revealing the additional context outside your primary frame.

    By mastering these six tips, you can unlock the full potential of your iPhone’s camera and transform your everyday snapshots into captivating photographs. Remember, practice and experimentation are key. So, grab your iPhone, explore these features, and start capturing the world around you in a whole new light.

  • Mastering Mobile Photography: Unleash your iPhone’s hidden potential

    Mastering Mobile Photography: Unleash your iPhone’s hidden potential

    The iPhone has revolutionized how we capture the world around us. More than just a communication device, it’s a powerful camera that fits in your pocket. While features like Portrait Mode and Photographic Styles are undeniably impressive, mastering the fundamentals of photography using your iPhone’s built-in tools can elevate your images to a whole new level.

    This isn’t about fancy filters or complex editing; it’s about understanding composition and perspective, and utilizing the tools already at your fingertips. Whether you’re a seasoned photographer or just starting your mobile photography journey, these six tips will help you unlock your iPhone’s true photographic potential.

    1. The Art of Composition: Harnessing the Rule of Thirds

    Composition is the backbone of any great photograph. One of the most effective compositional techniques is the “rule of thirds.” This principle involves dividing your frame into nine equal rectangles using two horizontal and two vertical lines. The points where these lines intersect are considered the most visually appealing spots to place your subject.

    Your iPhone’s built-in grid overlay makes applying the rule of thirds incredibly easy. To activate it:

    1. Open the Settings app.
    2. Scroll down and tap Camera.
    3. In the “Composition” section, toggle on the Grid switch.

    With the grid activated, consider these points:

    • Identify Key Elements: Determine the primary subjects or points of interest in your scene.
    • Strategic Placement: Position these elements along the grid lines or at their intersections. For portraits, placing the subject’s eyes along a horizontal line often creates a compelling image.
    • Horizontal Harmony: When capturing landscapes, align the horizon with either the top or bottom horizontal line to emphasize either the sky or the foreground.  
    • Balancing Act: Use the rule of thirds to create balance. If you place a prominent subject on one side of the frame, consider including a smaller element on the opposite side to create visual equilibrium.
    • Embrace Experimentation: The rule of thirds is a guideline, not a rigid rule. Don’t be afraid to experiment and see how shifting elements within the frame affects the overall impact of your photo.

    2. Achieving Perfect Alignment: Straightening Top-Down Perspectives

    Capturing objects from directly above, like food photography or flat lays, can be tricky. Ensuring your camera is perfectly parallel to the subject is crucial for a balanced and professional look. Your iPhone’s built-in Level tool is your secret weapon.

    In iOS 17 and later, the Level has its own toggle:

    1. Open the Settings app.
    2. Tap Camera.
    3. Toggle on the Level switch.

    To use the Level:

    1. Open the Camera app.
    2. Position your phone directly above your subject.
    3. A crosshair will appear on the screen. Adjust your phone’s angle until the floating crosshair aligns with the fixed crosshair in the center. When perfectly aligned, both crosshairs will turn yellow.
    4. Tap the shutter button to capture your perfectly aligned shot.

    3. Level Up Your Landscapes: Ensuring Straight Horizons

    The Level tool isn’t just for top-down shots. It also helps you achieve perfectly straight horizons in your landscape photography. When the Level setting is enabled, a broken horizontal line appears when your phone detects it’s slightly tilted. As you adjust your phone to a level position, the broken line merges into a single, yellow line, indicating perfect horizontal alignment. This feature is subtle and only activates within a narrow range of angles near horizontal, preventing it from being intrusive.

    4. Capturing Fleeting Moments: Mastering Burst Mode

    Sometimes, the perfect shot happens in a split second. Burst Mode allows you to capture a rapid sequence of photos, increasing your chances of capturing that decisive moment.  

    To activate Burst Mode:

    1. Go to SettingsCamera and toggle on Use Volume Up for Burst.
    2. Then, in the Camera app, simply press and hold the Volume Up button. Your iPhone will continuously capture photos until you release the button. A counter on the screen displays the number of shots taken.

    Burst photos are automatically grouped into an album called “Bursts” in your Photos app, making it easy to review and select the best shots.  

    5. Mirror, Mirror: Personalizing Your Selfies

    By default, your iPhone flips selfies, which can sometimes feel unnatural. If you prefer the mirrored image you see in the camera preview, you can easily change this setting:

    1. Open the Settings app.
    2. Scroll down and tap Camera.
    3. Toggle the Mirror Front Camera switch to the green ON position.

    Now, your selfies will be captured exactly as you see them in the preview.

    6. Expanding Your Vision: Utilizing “View Outside the Frame”

    On iPhone 11 and later models, the “View Outside the Frame” feature offers a unique perspective. When enabled, it shows you what’s just outside the current frame, allowing you to fine-tune your composition and avoid unwanted cropping later. This is particularly useful when using the wide or telephoto lens, as it shows you the wider field of view of the next widest lens.

    To activate this feature:

    1. Open the Settings app.
    2. Scroll down and tap Camera.
    3. In the “Composition” section, toggle on View Outside the Frame.

    By understanding and utilizing these built-in camera features, you can significantly improve your iPhone photography skills and capture stunning images that truly reflect your vision. It’s not about having the latest model or the most expensive equipment; it’s about mastering the tools you already have in your pocket.